


Well I've just not bothered myself.
I think you'll have to rivet attachment points on the sides and back of the shell... I'm not sure how or where, though.

To save cocking up your helmet by drilling and fixing, why not double-sided-tape the chin cup and straps to your face and then just drop the helmet over your bonce? The overall effect will be much the same and take all of 60 seconds to do...


Seriously... Maybe ask Gadge (when he returns) or ask on the wwii re-enacting forums...

Steiner, I'm taking it that you've got an RAC helemet and the leather straps to fit onto it? if so I've got the same thing and what I'm planning to do is grind off the rivets holding the existing straps and then attach the side straps using a nut & bolt, for the rear straps you'd have to drill an additional hole but as I've been told that it's very difficult to drill through the shell the best suggestion I've had was to attach the rear straps to the liner. I'm also looking at getting some thick rubber so I can make a more realistic looking liner.


 I am serious - CW's fixing methods are Sellotape, double-side tape, gaffa tape and hot glue. Double-sided seems more appropriate.
Those Pegasus RAC adapted helmets had bolts through the rim didn't they?
yup... and the covered up with a fibre rim.

Steiner, I'm taking it that you've got an RAC helemet and the leather straps to fit onto it?
Er, yeah I think it's an RAC helmet (Yith got it for me), but the straps are canvas, with a chin cup bit.
And Chommers, after that facetious remark, if you think I'm dressing up as Jenny for you, you've got another think coming!


You've got nothing to ein, zwei, drei, vier
I've just left mine as is... Its close enough for me (shock horror)... 
Crumbs, I would've thought your reenactor mates would put you on jankers for a month!
You've got nothing to ein, zwei, drei, vier
I just don't wear it at events (or much at all to be honest)... after all my re-enacting is mainly chindit anyway...
A beret will do fine when promenading as a stafford...
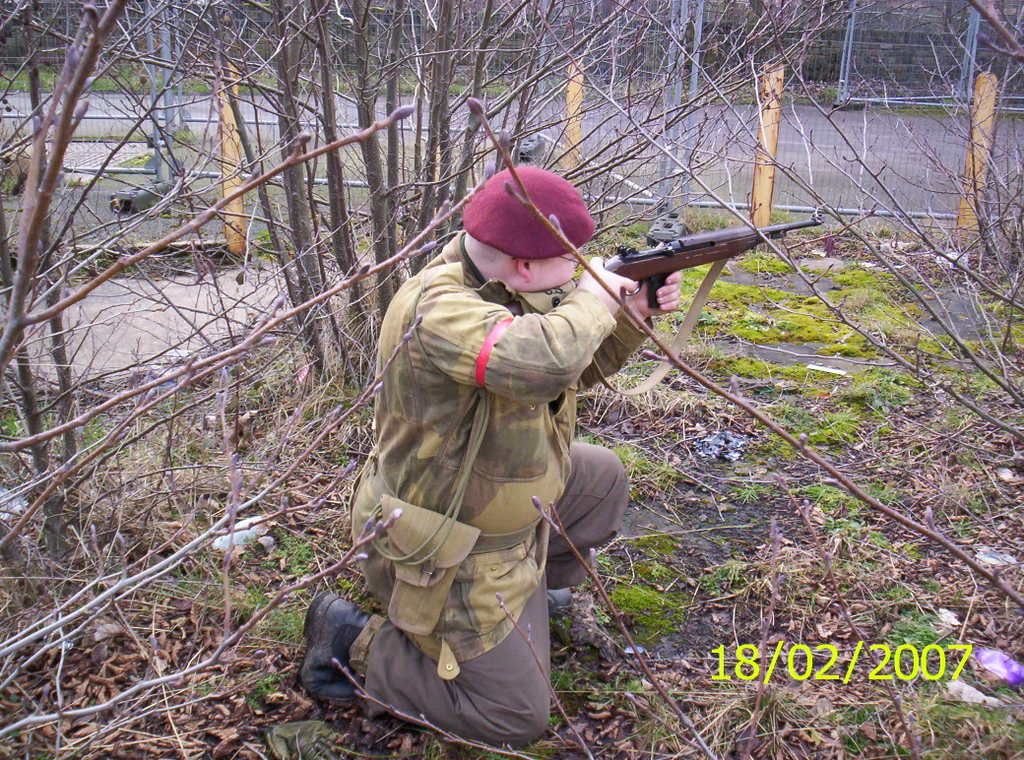
Steiner, Do you mind drilling a pair of small holes in the lid? about 1mm or 2mm?
I made a rear atachment point on an old RAC helmet a few years ago by using the core of armoured cadle, I can give you full details if you want.


Well, I could certainly do with some suggestions, Syd - fire away mate.
You've got nothing to ein, zwei, drei, vier
Yith, I don't suppose you've got any more brown mugs??
You've got nothing to ein, zwei, drei, vier
Steiner, Do you mind drilling a pair of small holes in the lid? about 1mm or 2mm?
I made a rear atachment point on an old RAC helmet a few years ago by using the core of armoured cadle, I can give you full details if you want.
I'd be interested as well, any chance of posting the info here?
Sorry guys, Forgot to check out this thread.
Right then, Look away if you are easily upset by "Valdalising" Old Kit.
Tools Required are pretty simple, an electric Drill with a bit, Soldering Iron and a pair of strong wire cutters.
Materials are basically aproximatly 6" of the thick(about 2mm) wire found in 3 phase Cable, and some solder.
Find the Back of the Helmet, and drill two holes just above the rolled rim, just a little wider apart than the thickness of the chinstrap.
Next feed the bare wire through both holes from the back, leave enough space for the chinstrap to move freely and solder the two ends together, trimming off any exess.
Now all you have to do is hide the 1/2" or so of shiny wire at the back of the helmen, I did this pretty well I think, First I fixed it in place on the outside using epoxy resin. Once this has set, I cover and smooth it with Miliput. Again, leave till its set again, then paint the whole helmet, including the wire. Finally, I then put a net helmet net and Hessian skrim on the helmet, and made sure the alteration was covered.
This is'nt a perfect solution, but It did me for quite a few years, until I manadged to find a reletivly cheep Post war helmet. Nobody will notice it isnt a genuine para helmet, because of the skrim, unless they are handling it.

Next feed the bare wire through both holes from the back, leave enough space for the chinstrap to move freely and solder the two ends together, trimming off any exess.
You could use nuts and bolts like the originals.


Hmm... my strap is totally different. Green canvas, with leather chincup, from which 4 straps emerge. 2 short, which should attach in front of the ears, and from what I can see in photos, the other two go around the back of the neck and attach to each other. 
You've got nothing to ein, zwei, drei, vier
So its more or less the same... just in canvass.
I think that makes it a late/post war version... (but still ok)

Right then, Look away if you are easily upset by "Valdalising" Old Kit.
Tools Required are pretty simple, an[u] electric Dill with a bit, Soldering Iron and a pair of strong wire cutters.
Novel implement, does that mean its still a live fish ....
and yes all look at syd, evil butcher of old things... wouldn't catch me doing that 


Next feed the bare wire through both holes from the back, leave enough space for the chinstrap to move freely and solder the two ends together, trimming off any exess.
You could use nuts and bolts like the originals.
Er, originals have a "Loop" mate, I'll take a pikky and put it up at the end of the week.
Besides, their a 3 real world reasons
1)The loop allows for more adjustment.
2)I said its how I did it on my old one quite a few years ago, I didnt think of it at the time.
3)I think that if you used bolts, you would have to be dam sure you were putting it in the correct position and it fit like a glove, because if you later realised you needed to change it, you would need a new chinstrap.
